Adding a New Expense
Record a business expense by entering the details and attaching receipts.
How to Add an Expense
Step 1: Go to Expenses
From the sidebar, click Expenses.
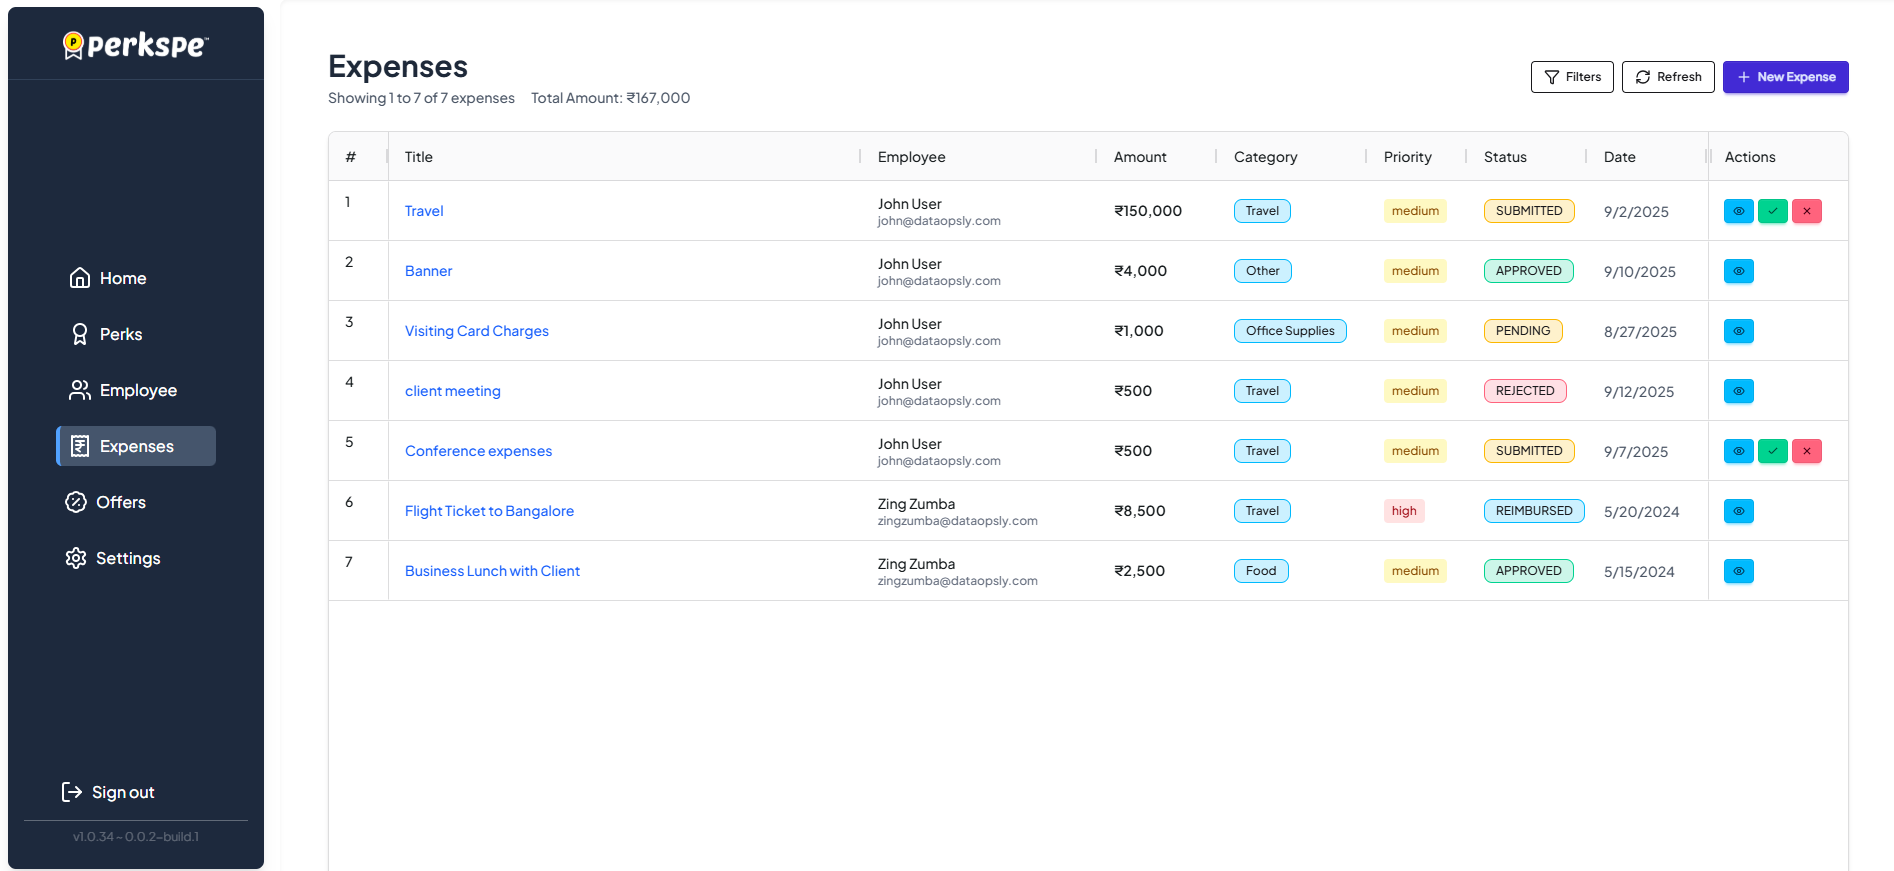
Step 2: Click Add Expense
Click the Add Expense button (top right).
Step 3: Fill in the Details
Complete the following sections:
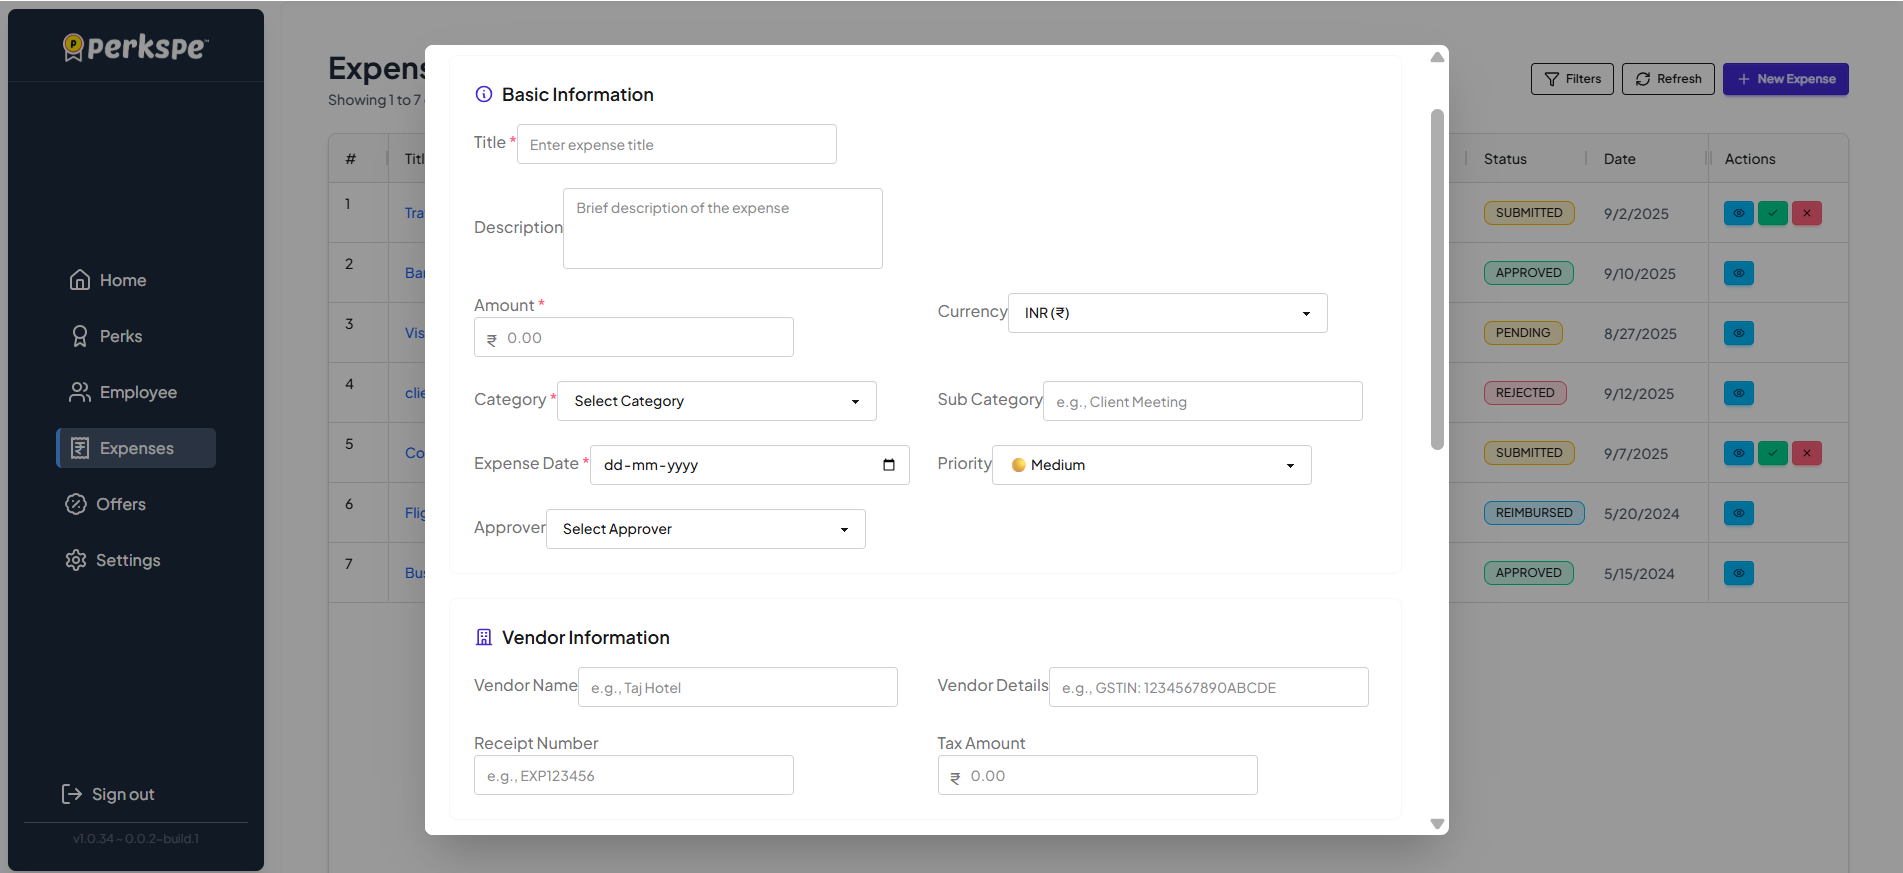
Section A: Basic Information
| Field | Required | Description |
|---|---|---|
| Expense Title | ✅ | Short name for the expense (e.g., "Client Lunch") |
| Description / Purpose | ✅ | Why this expense was incurred |
| Expense Type / Category | ✅ | Select category (Travel, Food, Office Supplies, etc.) |
| Date of Expense | ✅ | When the expense occurred |
| Amount | ✅ | Total expense amount |
| Currency | ✅ | Select currency (if multiple supported) |
| Priority | Optional | How urgent is this reimbursement? |
Priority Levels
| Priority | Icon | Use When |
|---|---|---|
| Urgent | 🔴 | Need reimbursement ASAP |
| High | 🟠 | Important, please review soon |
| Medium | 🟡 | Normal processing time is fine |
| Low | 🟢 | No rush |
Approver
Select who will approve this expense (usually your manager).
Section B: Vendor Information
| Field | Description |
|---|---|
| Vendor Name | Name of the business/store |
| Vendor Details | Additional vendor info (address, contact) |
| Receipt Number | Invoice or receipt number |
| Tax Amount | Tax portion of the expense |
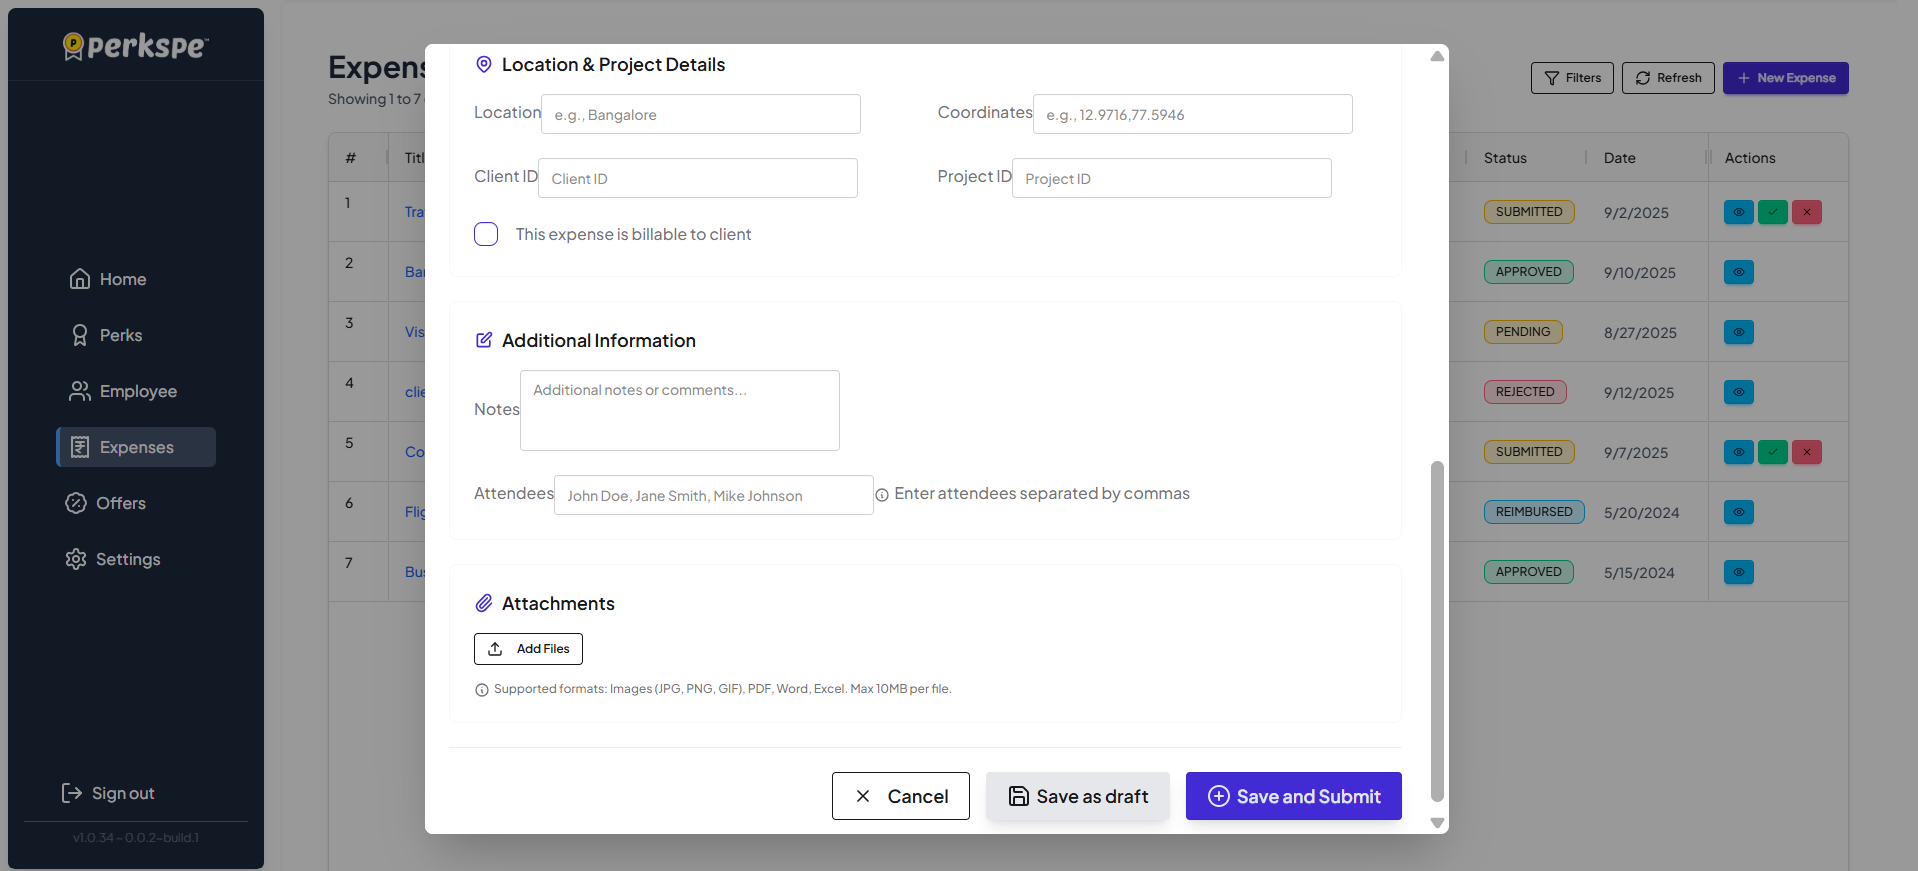
Section C: Location
| Field | Description |
|---|---|
| Location | Where the expense occurred |
| Coordinates | GPS coordinates (auto-filled on mobile) |
tip
On the mobile app, location is captured automatically using GPS.
Section D: Additional Information
Add any extra details that don't fit in the standard fields:
- Project code
- Client name
- Special notes
- Reference numbers
Section E: Attachments
Upload receipts and supporting documents.
To attach a file:
- Click Add Files
- Select your receipt image or document
- Click Open
The file appears as an attachment below.
note
Supported formats: JPG, PNG, PDF Tip: Take clear photos of receipts before they fade!
What's Next?
After filling in all details, you can:
| Option | When to Use |
|---|---|
| Save as Draft | Need more info or receipts later |
| Save and Submit | Ready for approval |
See the next section for details on drafts and submission.