Cash Advance
The Cash Advance feature allows admins to provide advance funds to employees before they incur business expenses. This is useful for travel, events, or any situation where employees need upfront money.
How to Access Cash Advance
From the sidebar, expand Expenses and click Cash Advance.
Cash Advance Dashboard
The Cash Advance page displays a list of all employees with their current cash advance details.
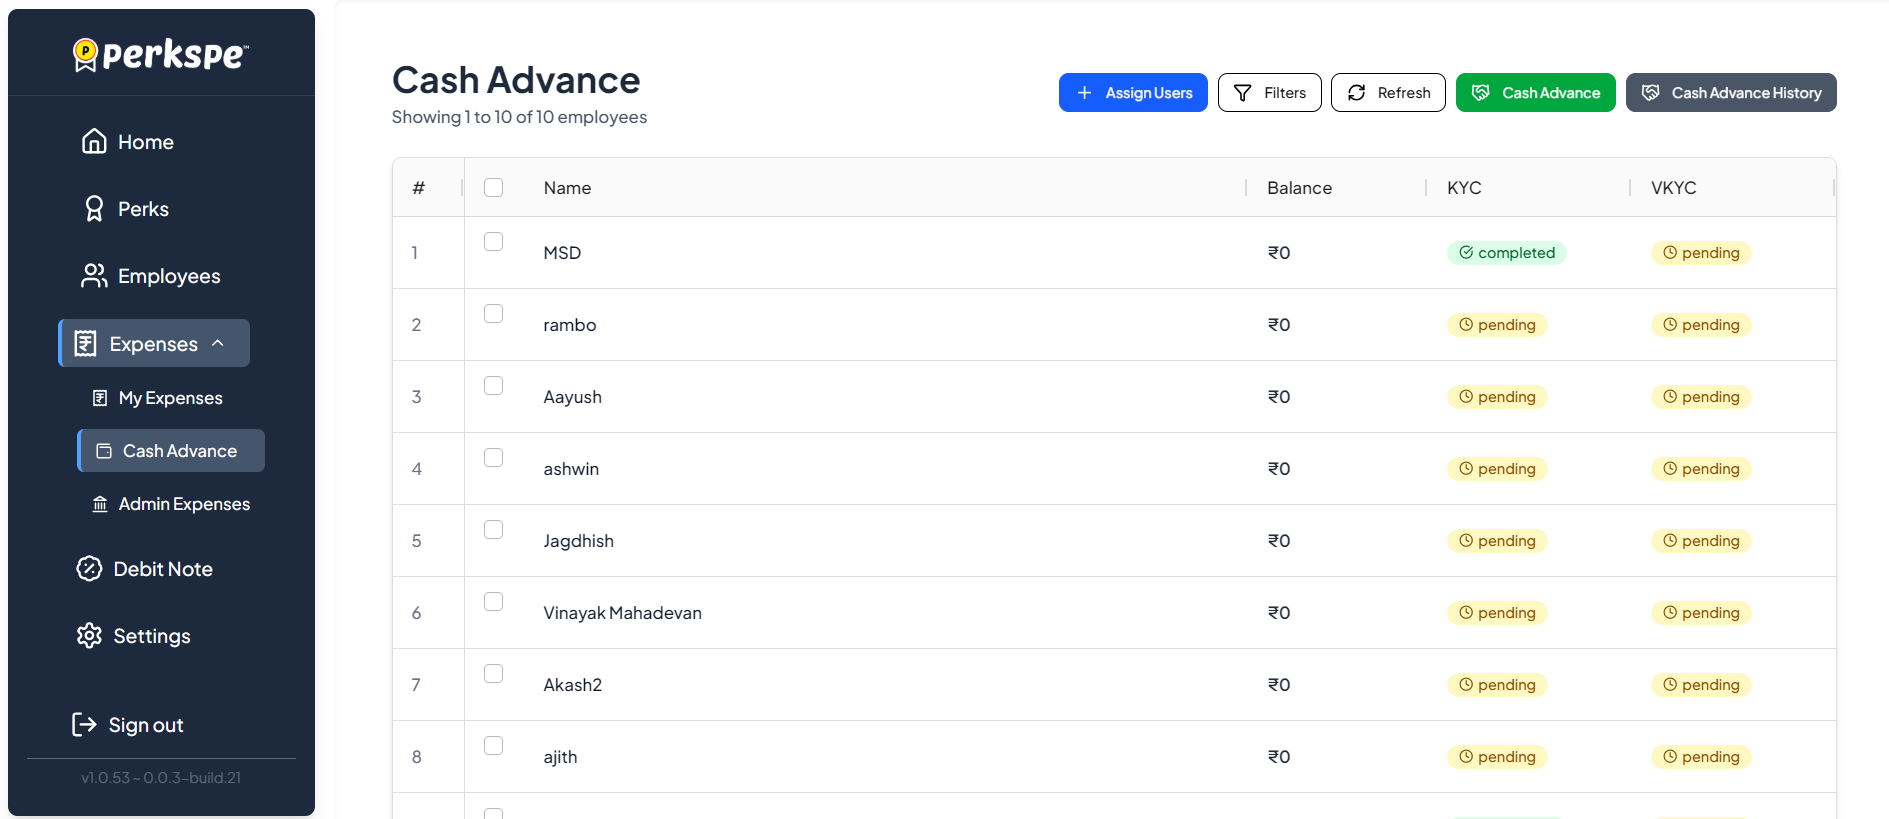
Dashboard Columns
| Column | Description |
|---|---|
| # | Serial number |
| Name | Employee name |
| Balance | Current cash advance balance (₹) |
| KYC | KYC verification status (completed / pending) |
| VKYC | Video KYC verification status (completed / pending) |
Top Action Buttons
| Button | Description |
|---|---|
| + Assign Users | Assign employees to the Cash Advance module |
| Filters | Filter the employee list |
| Refresh | Refresh the list to see latest data |
| Cash Advance | Initiate a new cash advance for selected employees |
| Cash Advance History | View the history of all cash advance transactions |
Step 1: Assign Users
Before issuing a cash advance, you need to assign employees to the Cash Advance module.
- Click the + Assign Users button at the top.
- The Cash Advance to Employees dialog appears.
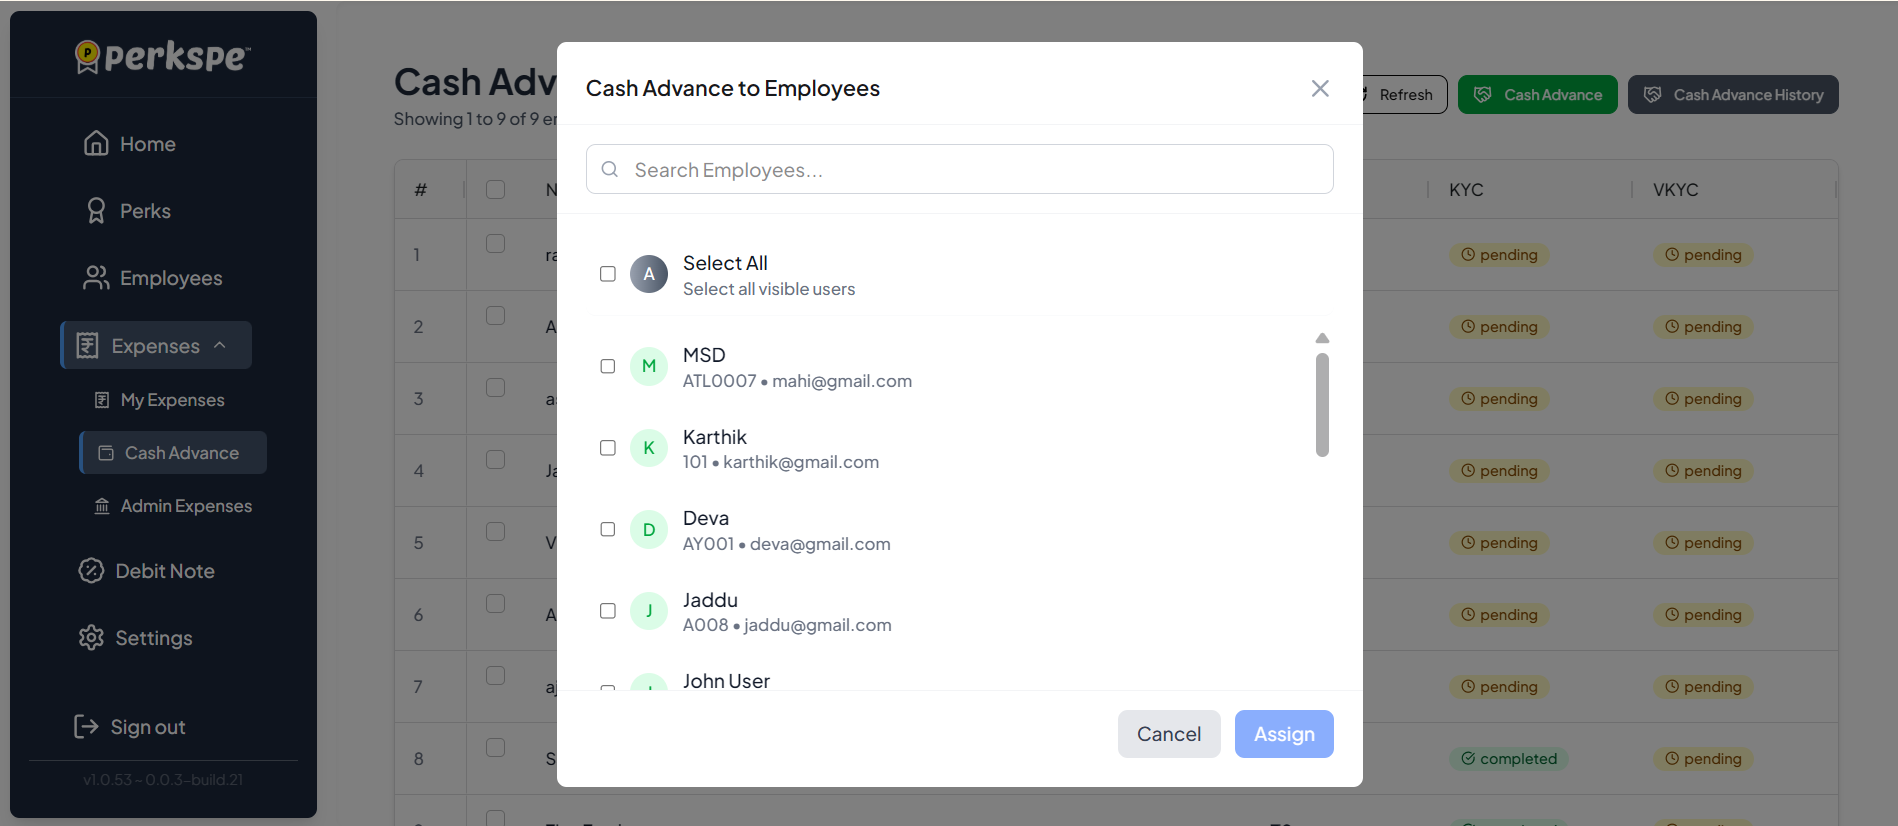
- Use the Search Employees bar to find specific employees.
- Select employees by checking the checkbox next to their name.
- Use Select All to select all visible users at once.
- Each employee shows their Employee ID and email for easy identification.
- Click Assign to add the selected employees to Cash Advance.
- Click Cancel to close without assigning.
Step 2: KYC Verification Check
When initiating a cash advance, the system checks if the selected employees have completed their KYC verification.
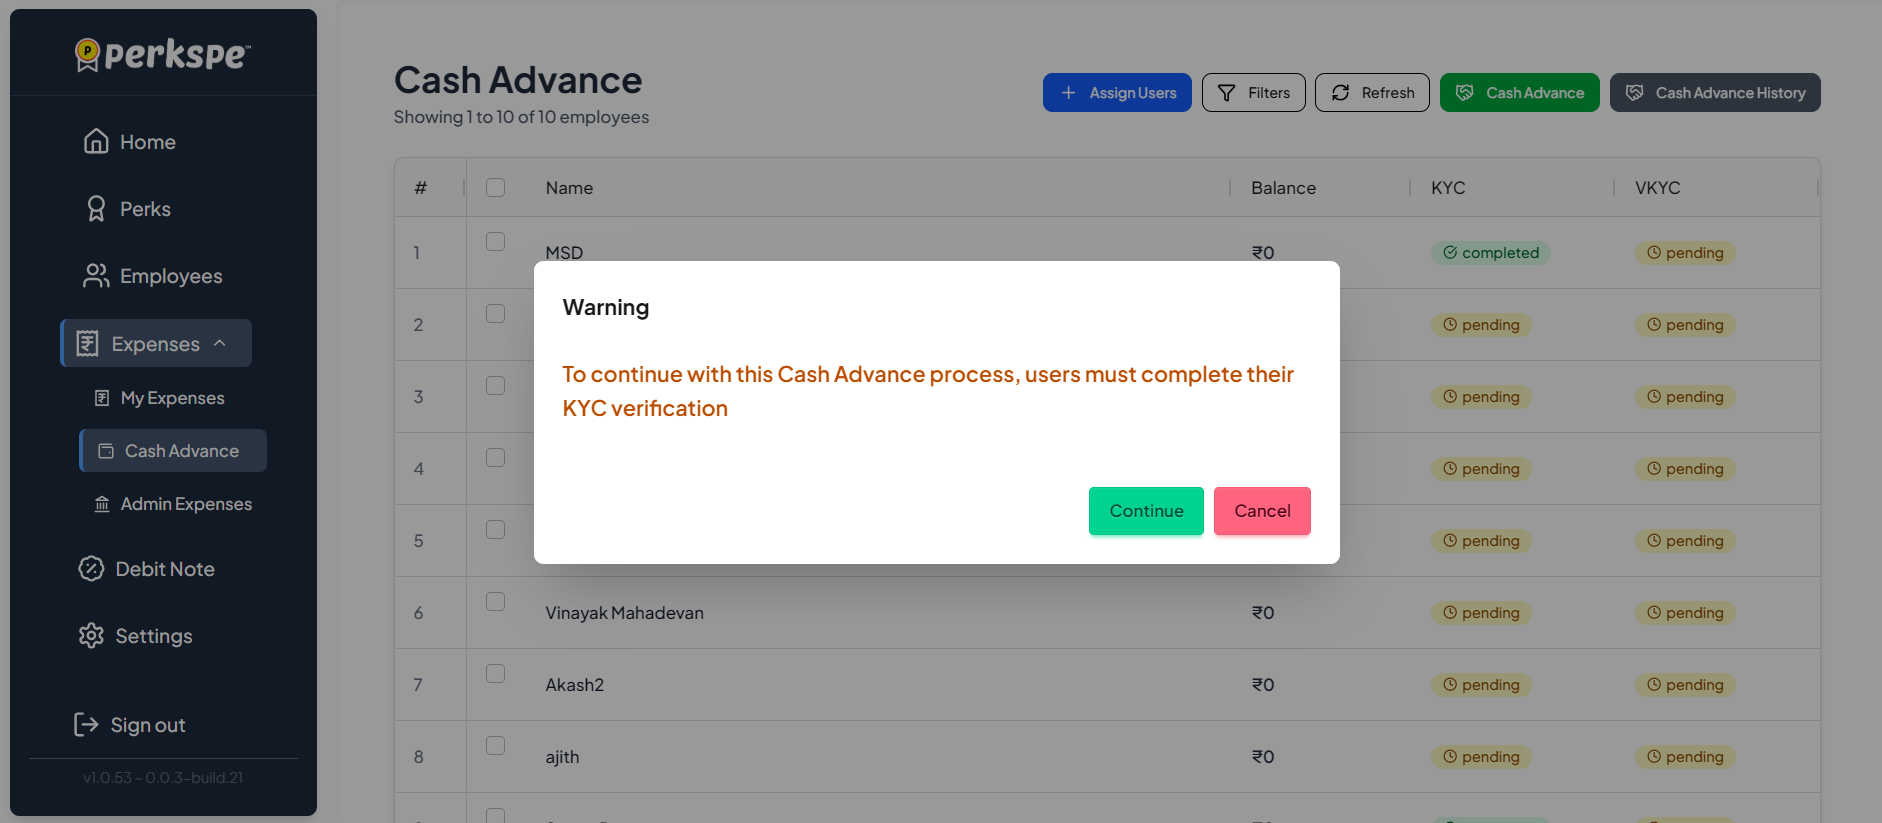
KYC Required: To continue with the Cash Advance process, users must complete their KYC verification.
Cash Advance Limits (As per RBI Guidelines)
| KYC Level | Wallet Load Limit | Description |
|---|---|---|
| MinKYC | Up to ₹10,000 | Basic KYC verification completed |
| VKYC (Video KYC) | Up to ₹2,00,000 | Full Video KYC verification completed |
The cash advance limit depends on the employee's KYC level. Employees who have completed only MinKYC can receive a maximum of ₹10,000, while those who have completed VKYC can receive up to ₹2,00,000 as per RBI guidelines.
- Click Continue to proceed anyway (the advance will be processed once KYC is completed).
- Click Cancel to go back and resolve KYC issues first.
Step 3: Select Employees for Cash Advance
After clicking the Cash Advance button (green button at the top), a dialog appears showing eligible employees.

- The dialog shows each employee's Name and current Cash Advance Balance.
- Use the Search bar to find specific employees.
- Select the employees you want to issue a cash advance to by checking the checkboxes.
- Click Continue to proceed to entering the advance amounts.
Step 4: Enter Cash Advance Amounts
After selecting employees, enter the cash advance amount for each employee.
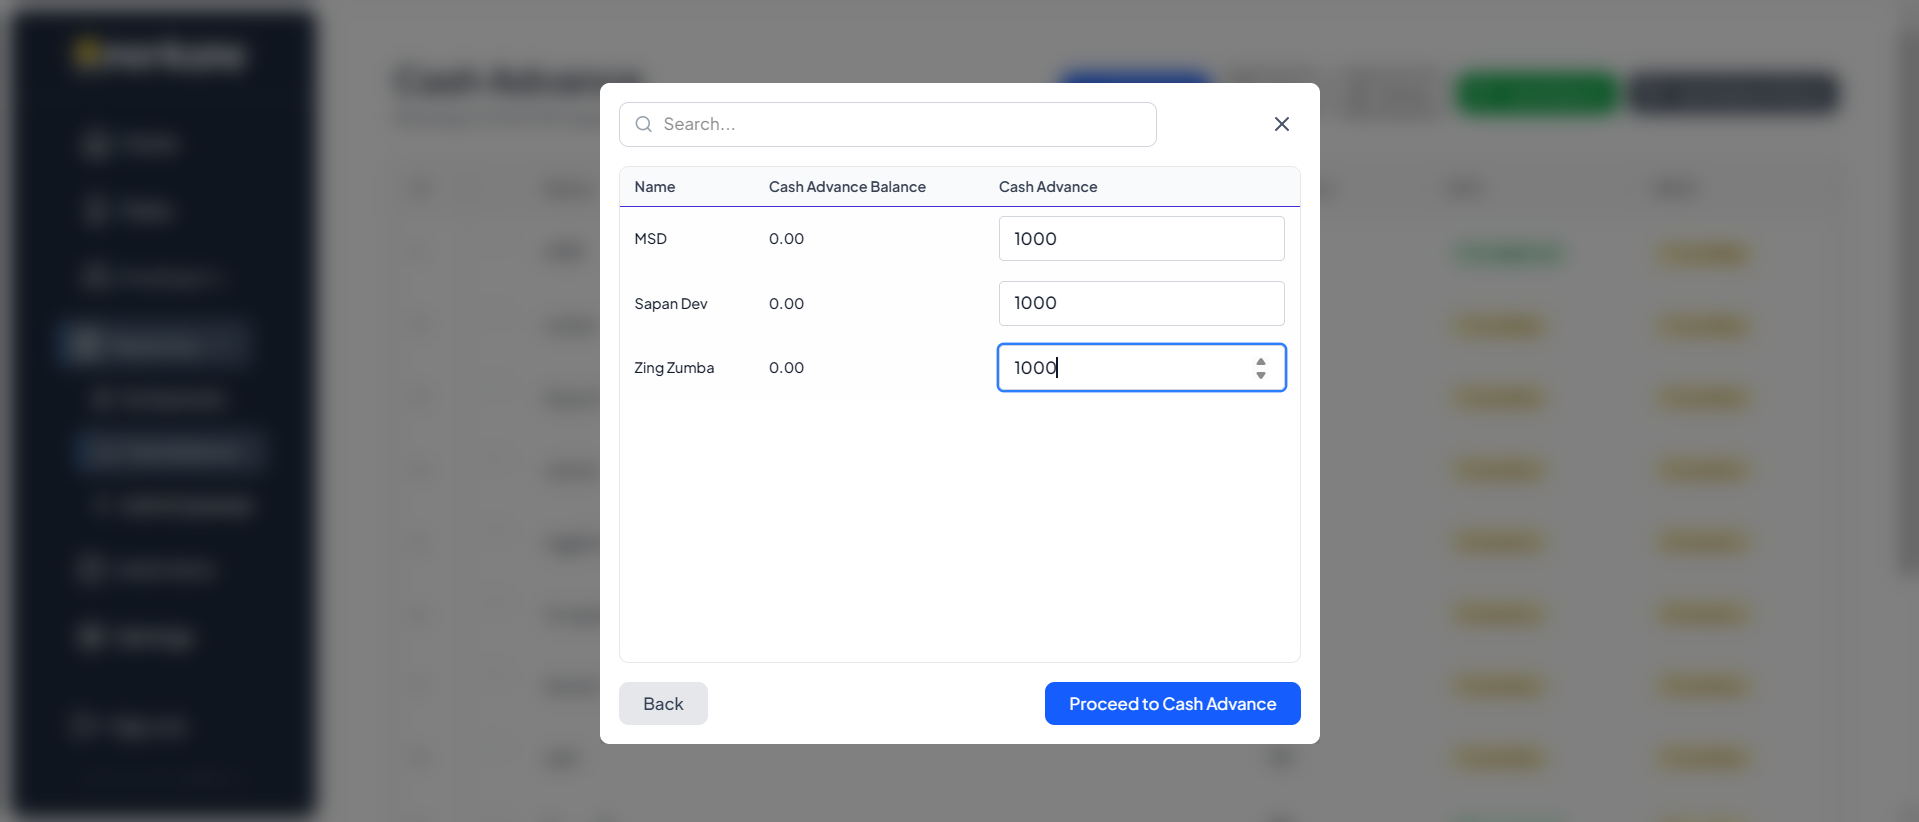
| Column | Description |
|---|---|
| Name | Employee name |
| Cash Advance Balance | Current outstanding cash advance balance |
| Cash Advance | Input field to enter the new advance amount |
- Enter the desired cash advance amount for each selected employee.
- You can use the Search bar to filter employees.
- Click Back to return to the employee selection screen.
- Click Proceed to Cash Advance to review and confirm.
Step 5: Confirm Cash Advance
A confirmation dialog appears showing a summary of all cash advances to be issued.
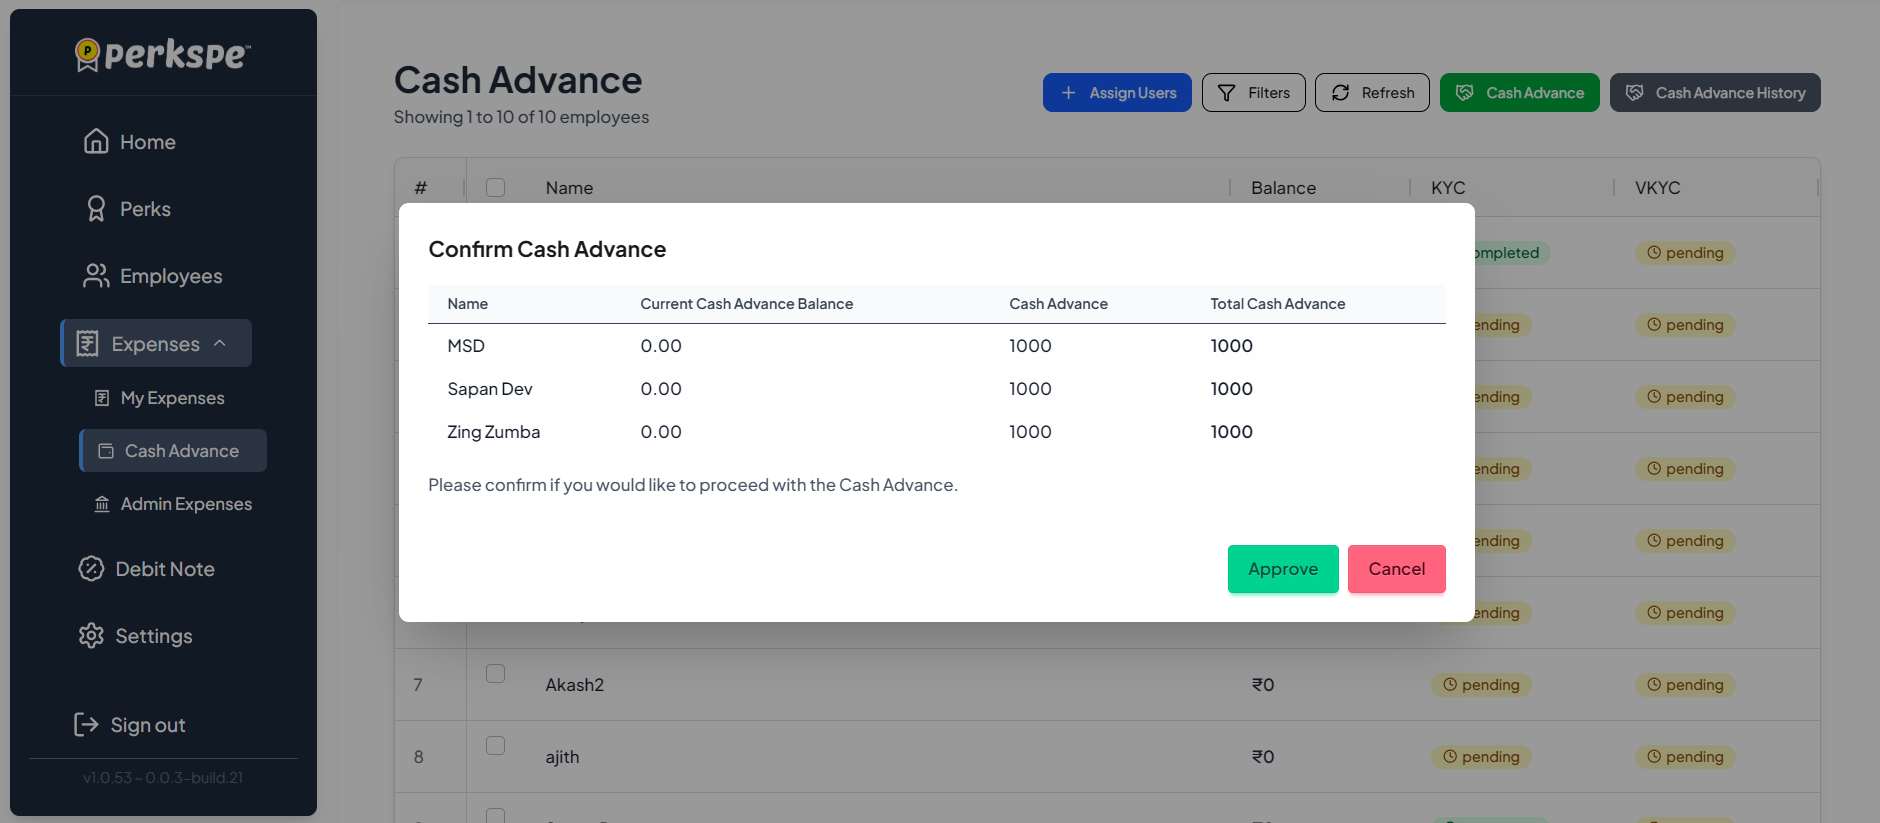
Confirmation Details
| Column | Description |
|---|---|
| Name | Employee name |
| Current Cash Advance Balance | Existing balance before this advance |
| Cash Advance | New advance amount being issued |
| Total Cash Advance | Total balance after this advance |
- Review the details carefully.
- Click Approve to confirm and process the cash advance.
- Click Cancel to go back without processing.
Always double-check the amounts before approving. Once approved, the cash advance will be credited to the employees' wallet.
Key Points
| Feature | Details |
|---|---|
| KYC Requirement | Employees must complete KYC verification for cash advance |
| Balance Tracking | The system tracks current balance for each employee |
| Bulk Processing | You can issue cash advances to multiple employees at once |
| Approval Flow | Confirmation step ensures accuracy before processing |
Cash Advance History
To view all past cash advance transactions, click the Cash Advance History button on the Cash Advance dashboard.
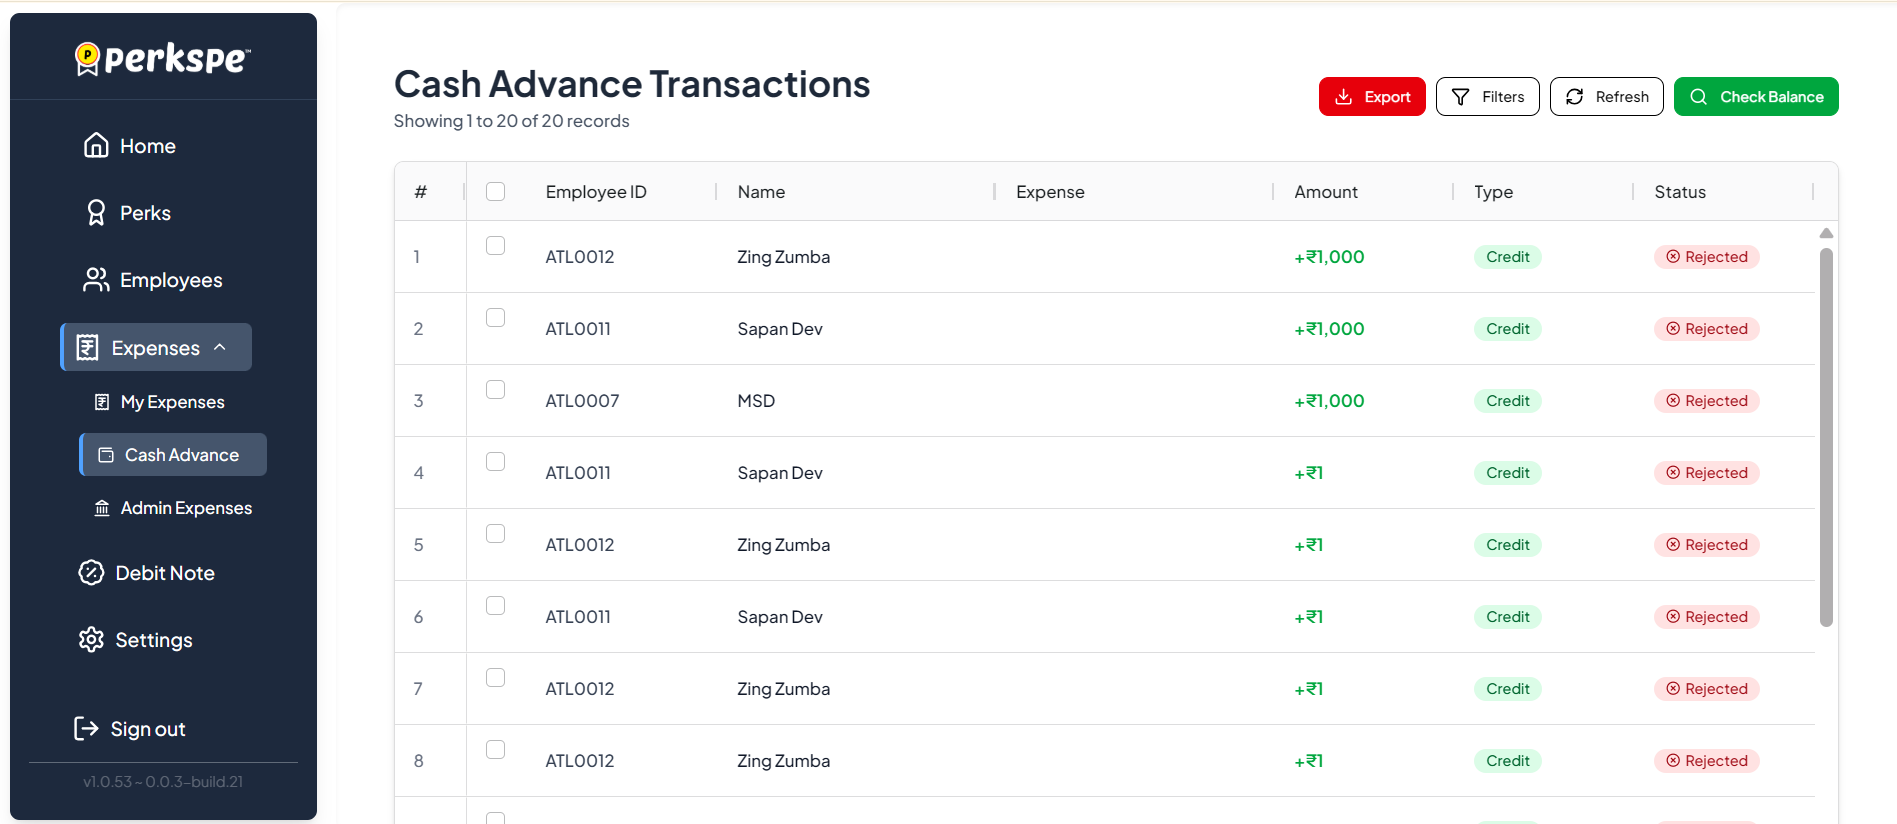
Transaction Table Columns
| Column | Description |
|---|---|
| # | Serial number |
| Employee ID | Unique employee identifier (e.g., ATL0012) |
| Name | Employee name |
| Expense | Associated expense (if any) |
| Amount | Cash advance amount (shown in green with ₹ symbol) |
| Type | Transaction type (e.g., Credit) |
| Status | Current status of the transaction (e.g., Rejected) |
Top Action Buttons
| Button | Description |
|---|---|
| Export | Download the transaction history as a report |
| Filters | Filter transactions by date, employee, status, etc. |
| Refresh | Refresh the list to see the latest transactions |
| Check Balance | View the current cash advance balance |
Check Balance
Click the Check Balance button on the Cash Advance History page to view the current cash advance balance.
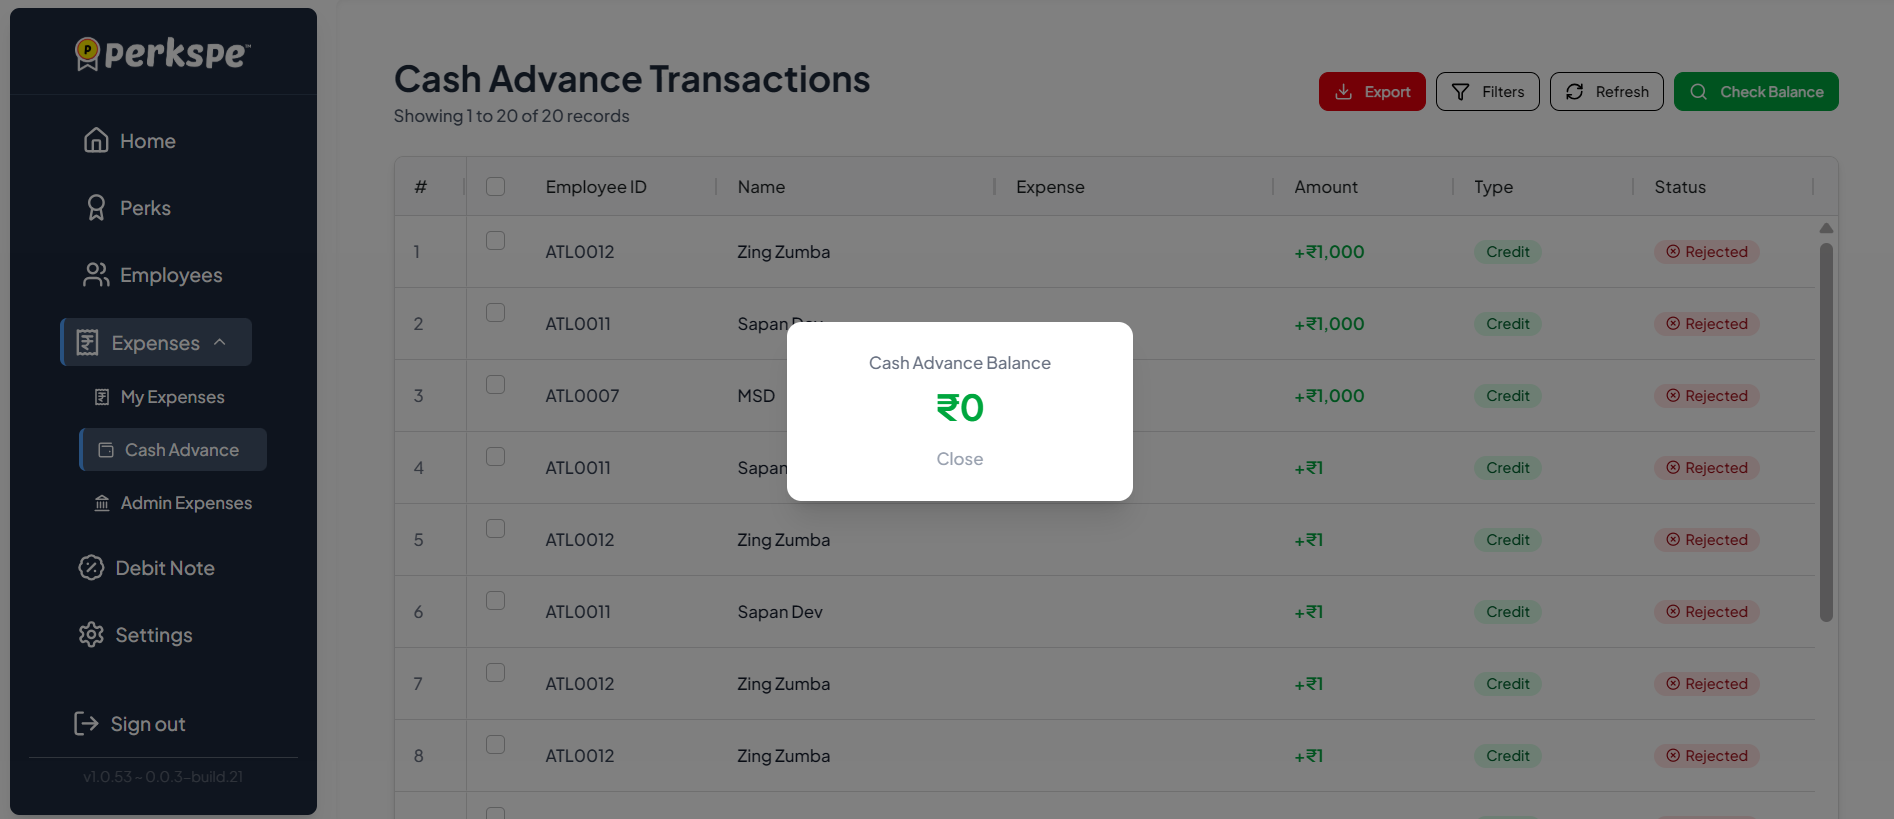
A popup displays the Cash Advance Balance (e.g., ₹0). Click Close to dismiss the popup.
Use the Check Balance feature regularly to monitor outstanding cash advance amounts across your organization.