Draft or Submit
After entering your expense details, you have two options: save as a draft or submit for approval.
Your Two Options
| Option | When to Use | Status | Who Sees It |
|---|---|---|---|
| Save as Draft | Still working on it | Draft | Only you |
| Save and Submit | Ready for approval | Submitted | Approvers & Finance |
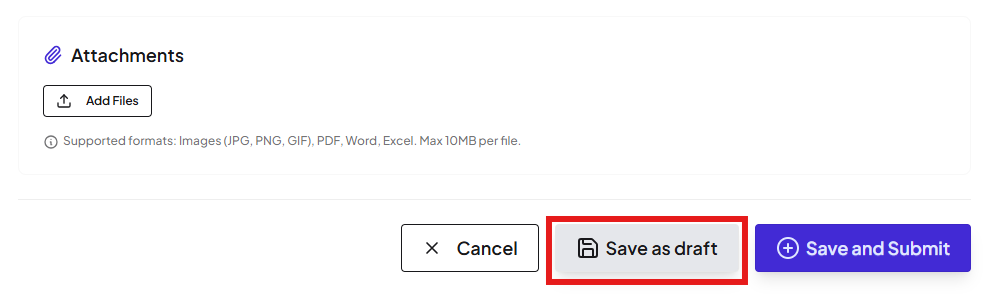
Option 1: Save as Draft
Save incomplete expense entries to finish later.
When to Use Drafts
- ⏳ You don't have all the details yet
- 📎 Still waiting for receipts
- 🔍 Want to review before submitting
- 💤 Need to finish tomorrow
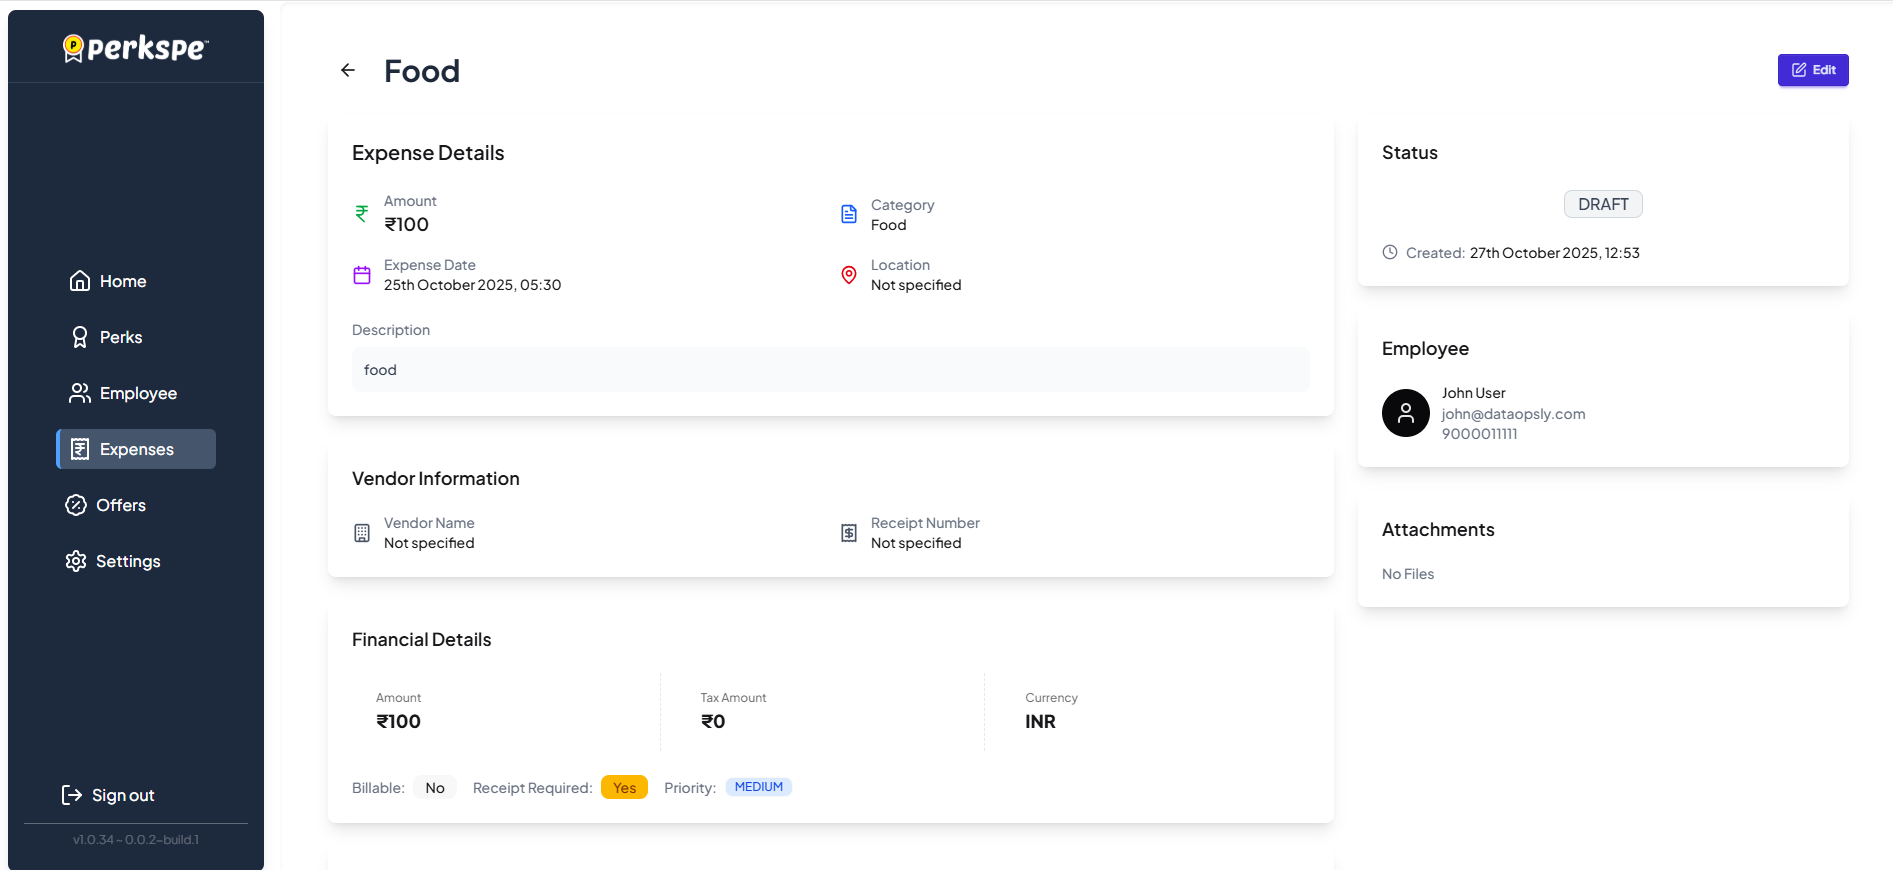
How to View Your Drafts
- Go to Expenses menu
- Click Actions
- Select View Drafts
![]()
You'll see all your saved drafts with the details you entered.
How to Edit a Draft
- Open the draft you want to edit
- Click the Edit button (top right)
![]()
- Update or complete the missing fields
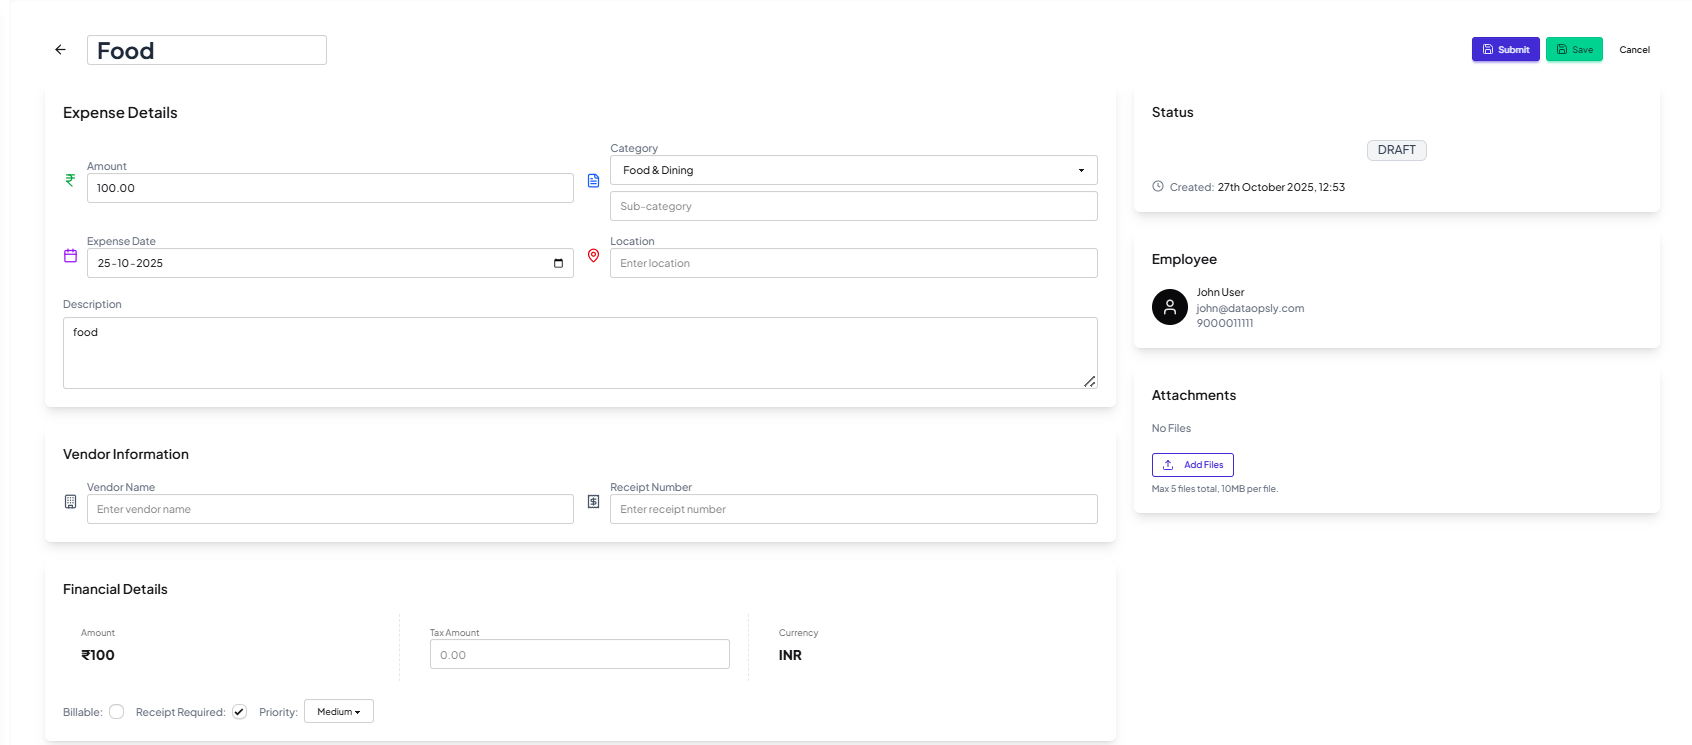
- When ready, click Submit to send for approval
![]()
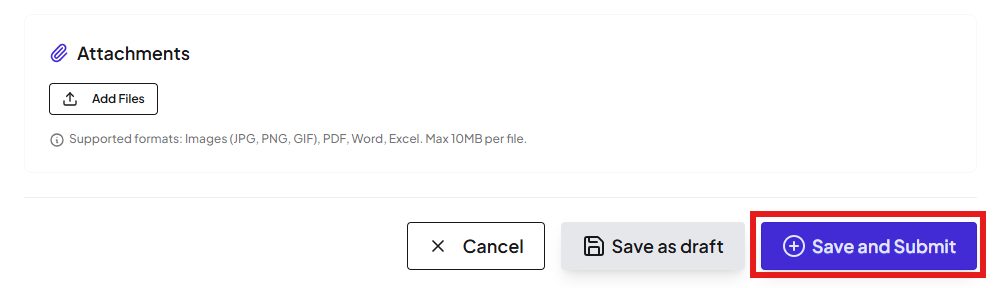
Option 2: Save and Submit
Finalize your expense and send it directly to the approval workflow.
What Happens After Submission
Your expense goes to your selected approver, who can:
| Action | Result |
|---|---|
| ✅ Approve | Expense accepted, reimbursement processing begins |
| ❌ Reject | Expense declined with a reason |
You'll be notified of the decision.
Quick Comparison
| Feature | Save as Draft | Save and Submit |
|---|---|---|
| Visible to you | ✅ Yes | ✅ Yes |
| Visible to approvers | ❌ No | ✅ Yes |
| Can be edited | ✅ Yes | ❌ No (after submission) |
| Triggers approval | ❌ No | ✅ Yes |
| Status | Draft | Submitted |
Best Practice
tip
Save as Draft first if you're not 100% ready. Once submitted, you cannot edit the expense — you can only add comments or wait for rejection to make changes.