Mobile Expense Management
PerksPe simplifies the reimbursement process by automating expense submission, tracking, and approvals. Using AI-powered OCR and direct transaction integration, you can manage your work-related costs with minimal manual entry.
1. Overview of Mobile Expenses
Expenses are business-related costs paid out-of-pocket that require reimbursement from your organization. Unlike PerksPe cards, these are personal funds you've spent on behalf of the company.

Key Features:
- Rapid Reimbursement: Receive approved funds directly to your bank account or PerksPe card within minutes.
- Policy Compliance: The app automatically checks your submissions against company spending rules.
| Feature | Employee Benefit |
|---|---|
| Digital Library | No need to keep physical receipts; all records are stored securely. |
| Real-time Status | Track the lifecycle of your claim from submission to payout. |
| Direct Communication | Respond to finance queries directly within the specific expense record. |
2. Common Expense Categories
Reimbursement eligibility depends on your organization's internal policies. Typical categories include:
| Category | Typical Items |
|---|---|
| ✈️ Travel | Airfare, train tickets, and local commute (taxis/autos). |
| 🍱 Meals | Business lunches and travel-related food expenses. |
| 🏠 Remote Work | Internet bills and office supplies for home setups. |
| 📱 Communication | Monthly mobile plans and data packs. |
3. How to Submit an Expense
You can claim an expense using two primary methods depending on how you paid for the item.
Method A: Manual Receipt Scan (Standard)
- Tap the Expenses icon in the bottom menu.
- Click the + (Add) button and select Add Manually.
- Scan Receipt: Use the camera to snap a photo. The AI OCR will automatically fill in the merchant, date, and amount.
- Review: Confirm the extracted details and select the appropriate category.
- Submit: Review and tap Submit for Approval.
Expense Creation Form
The expense creation form is organized into several sections:
Basic Information:
- Enter the expense title and description
- Select the reviewer/approver
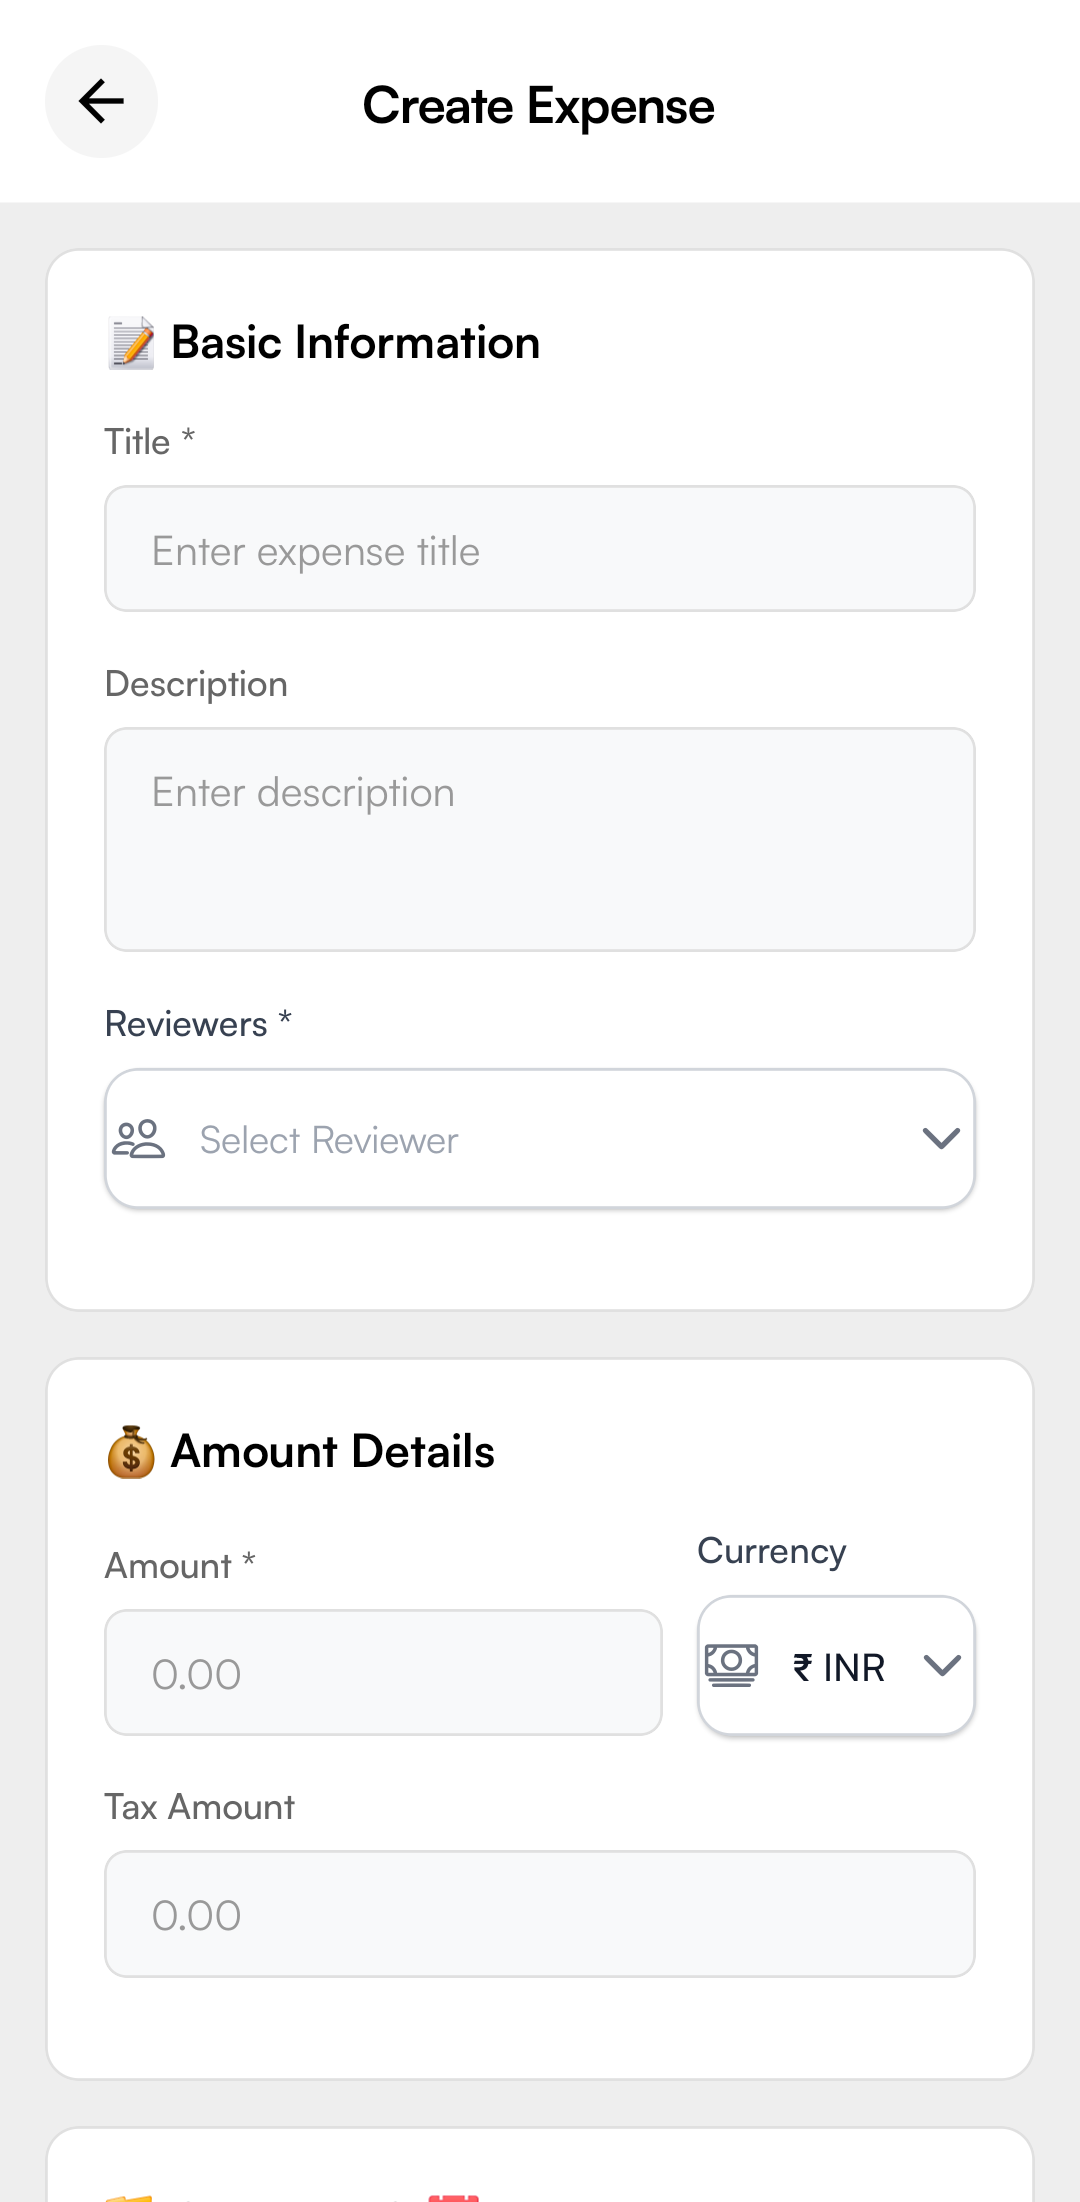
Amount Details:
- Specify the expense amount and currency (INR)
- Add tax amount if applicable
Category & Date:
- Select the expense category (Travel, Meals, etc.)
- Enter the date of expense
- Set priority level (Low, Medium, High, Urgent)
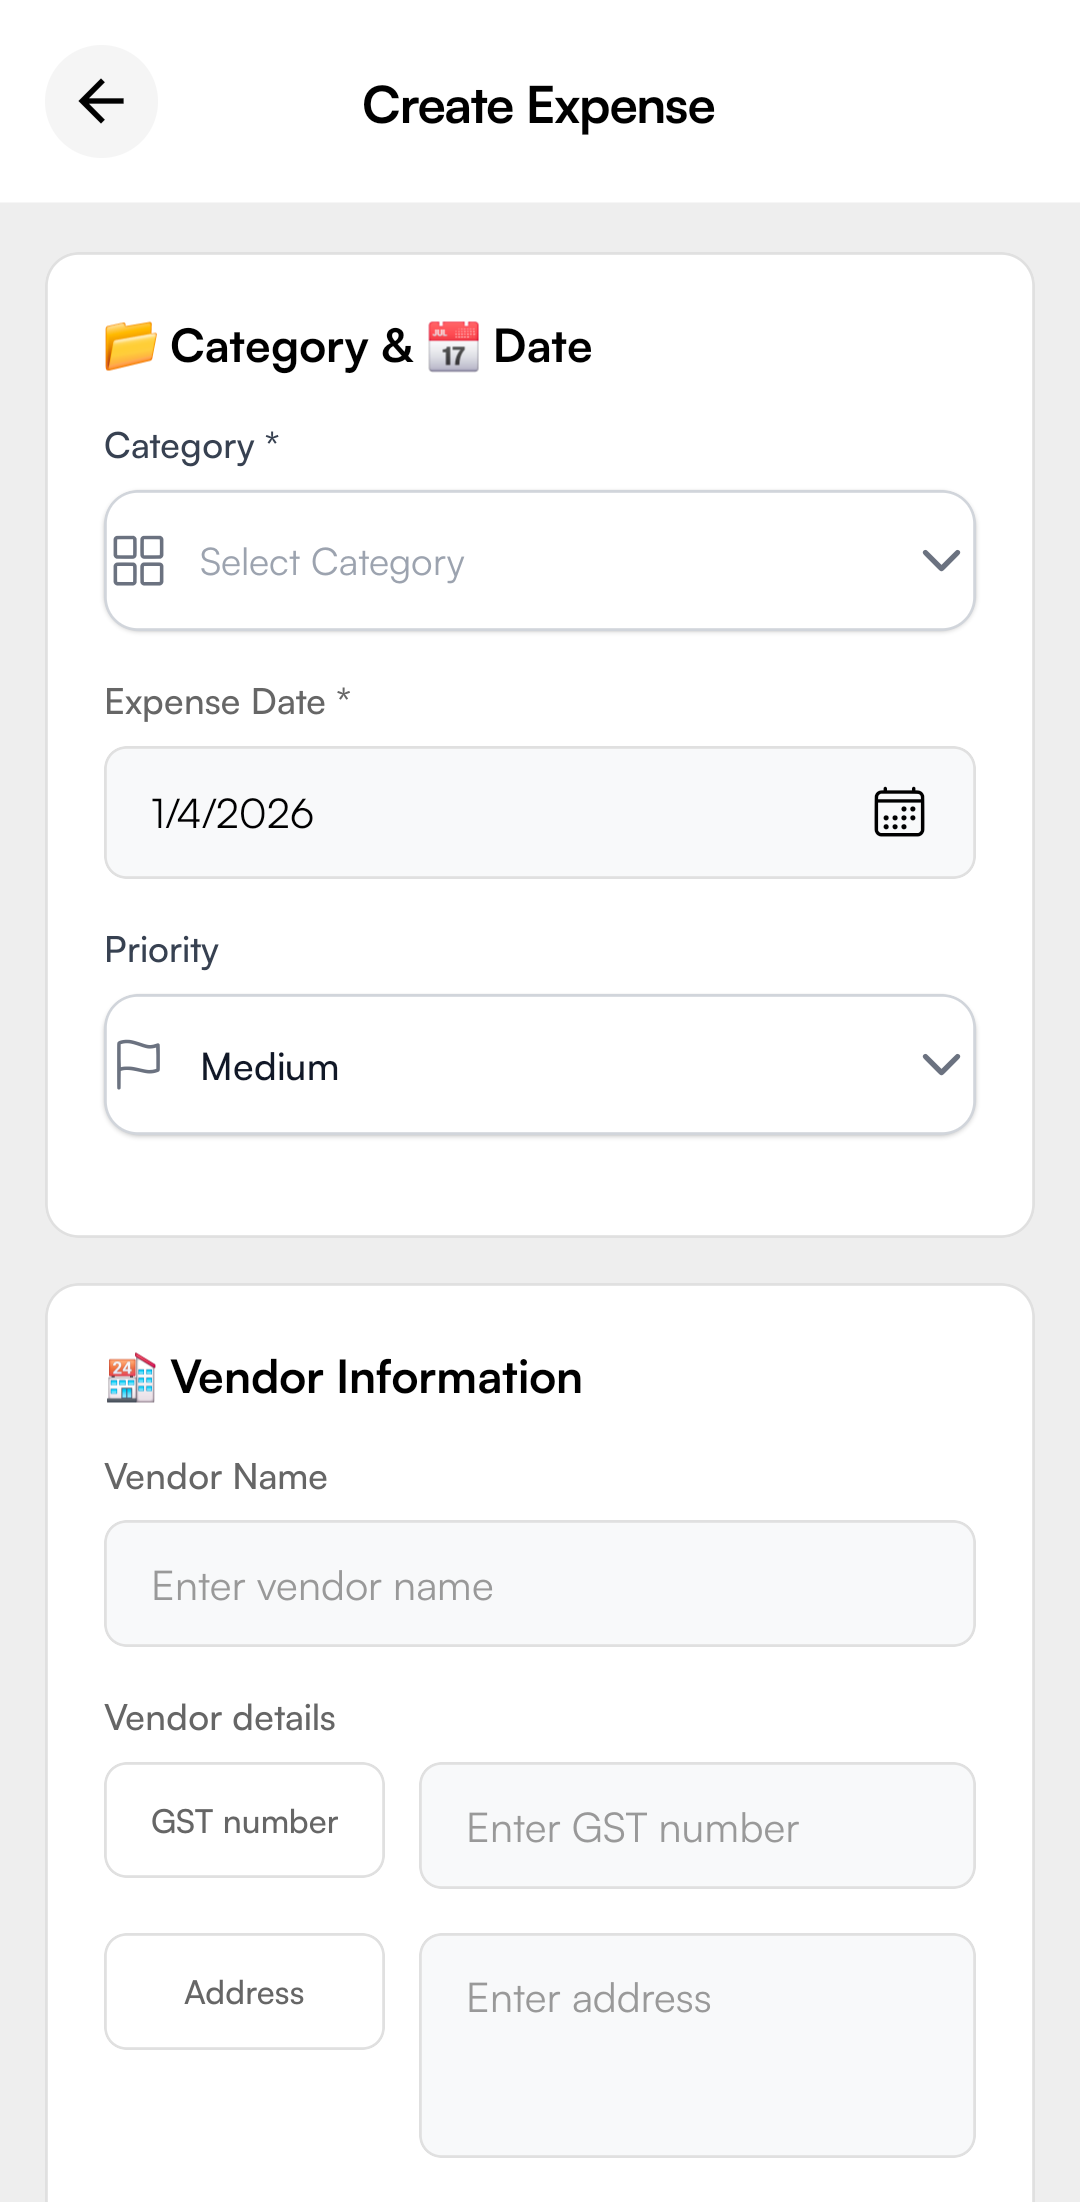
Vendor Information:
- Enter vendor/merchant name
- Add GST number (if applicable)
- Include vendor address details
Receipt & Location:
- Add receipt number for record-keeping
- Enter location where expense occurred
- Capture GPS coordinates (if available)
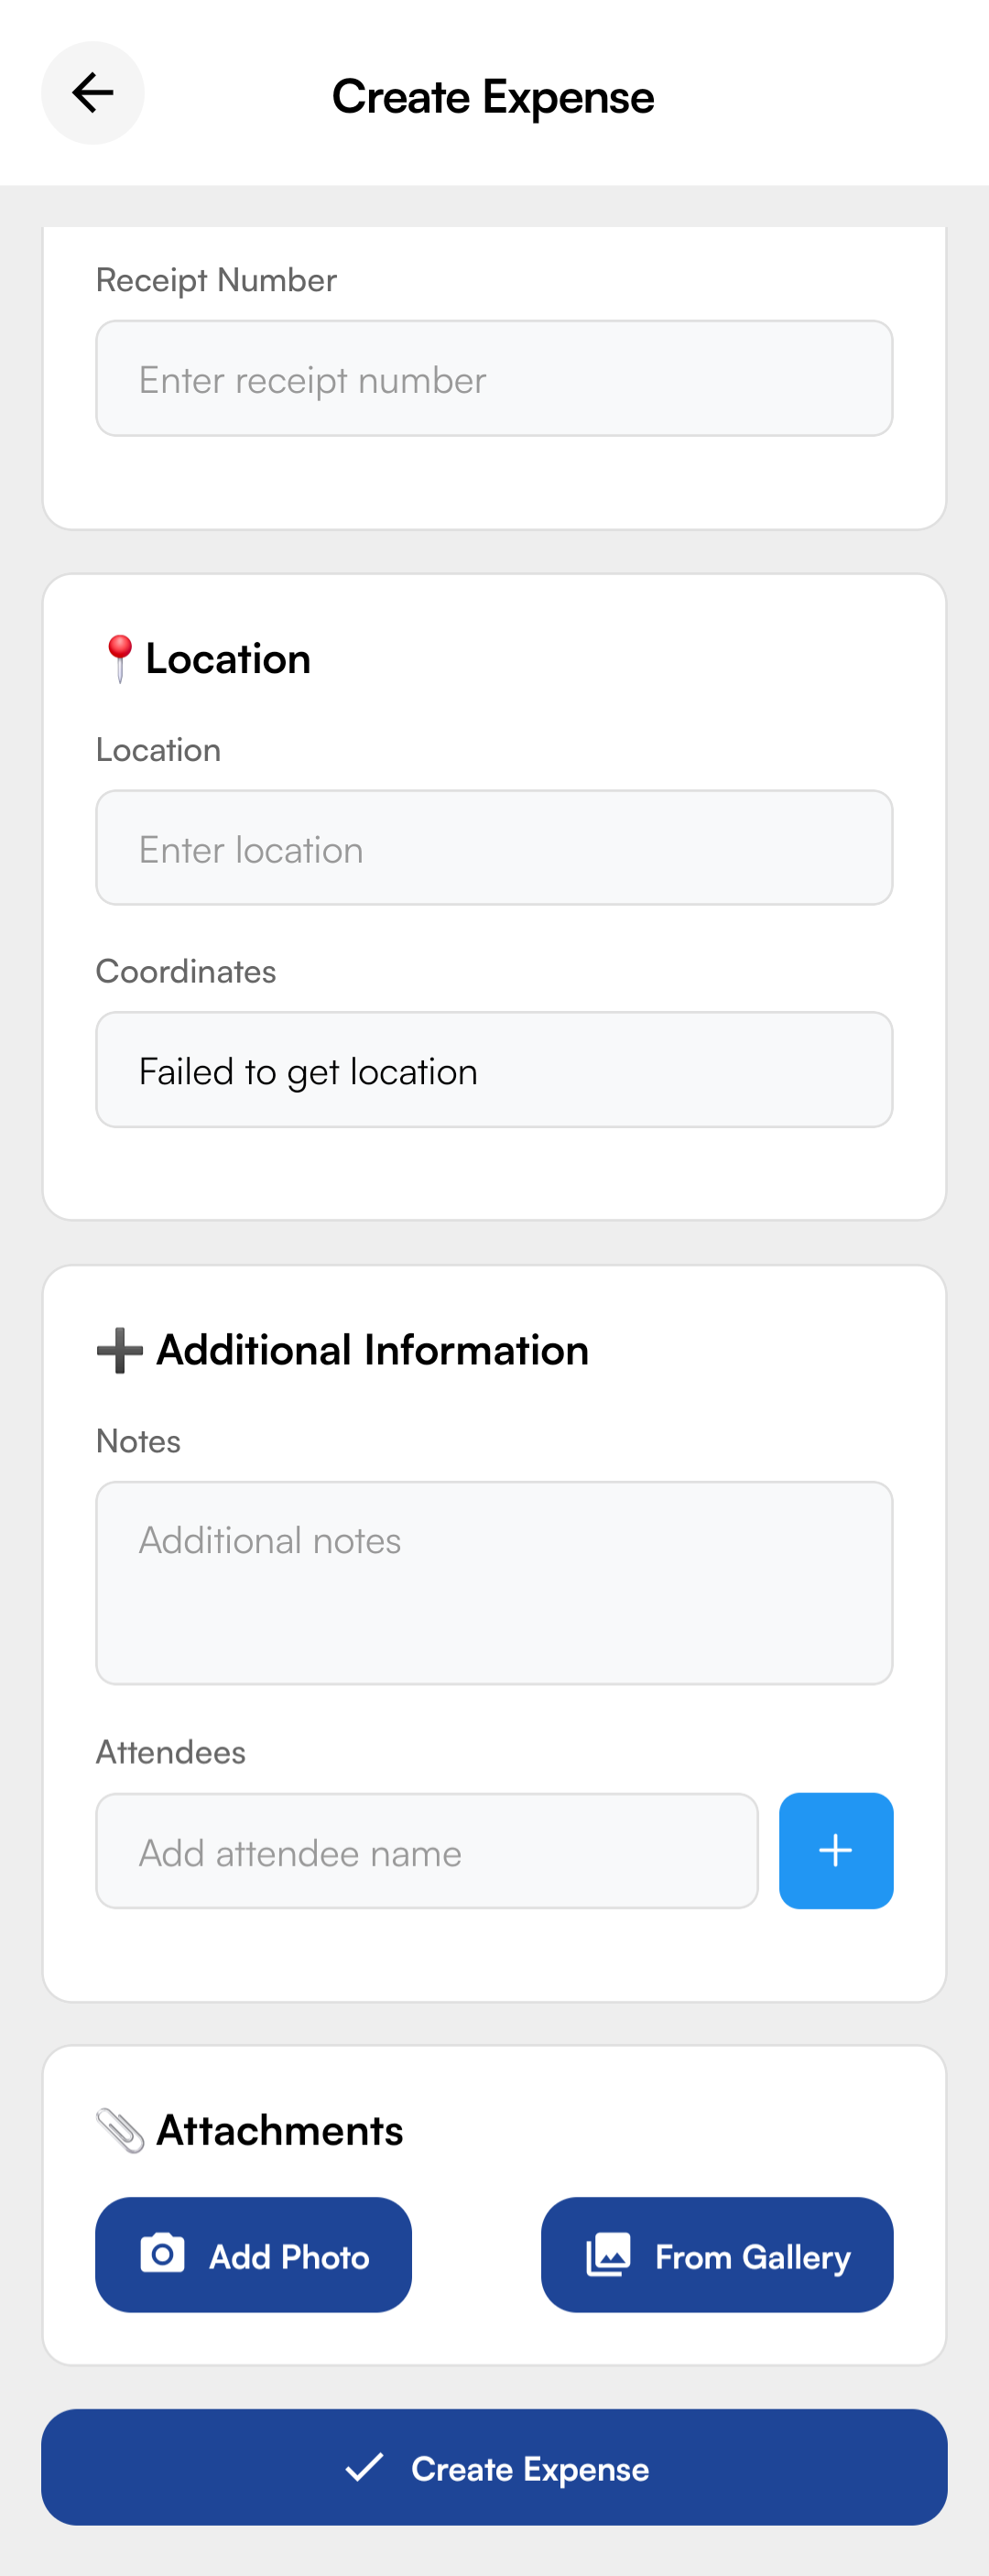
Additional Information:
- Add notes or special instructions
- Include attendees (for meals/meetings)
Attachments:
- Tap Add Photo to capture receipt photos
- Select From Gallery to attach existing photos
- Submit the expense once all required fields are complete
Method B: From Transactions (Quick Claim)
If you used your PerksPe card for an out-of-policy item that needs to be claimed as a specific expense:
- Go to your Transaction History.
- Select the specific transaction.
- Tap Create Expense. The app will auto-fill all transaction details.
4. Tracking & Status
Every expense follows a structured approval workflow. You can monitor the progress in real-time.
My Expenses Screen
View all your submitted expenses with quick status indicators and filters.
Key Metrics Displayed:
- This Month: Total expenses submitted in the current month
- Pending: Amount awaiting approval from your manager
- Coins: PEP Coins earned from this month's expenses
Filter & Navigate:
- Use status tabs: All, Draft, Submitted, Approved
- View expense list with details: ID, title, amount, category, and priority
- Tap any expense to view full details or edit
| Status | Meaning | Action Required |
|---|---|---|
| 🟡 Pending | Waiting for manager or finance approval. | None. |
| 🟢 Approved | Accepted and queued for the next payment cycle. | None. |
| 🔴 Rejected | Needs correction or clarification. | Check Comments and resubmit. |
| 🔵 Reimbursed | Funds have been successfully reimbursed. | Check your account. |
5. View & Respond to Comments
If an approver needs more information, they will leave a comment on your expense record.
- Notifications: You will receive a push notification if a comment is added.
- How to View: Open the specific expense and scroll to the Comments section at the bottom.
- How to Reply: Type your clarification and tap send. This keeps the audit trail clean.
Quick Summary
| Action | Steps |
|---|---|
| New Expense | Expenses → "+" → Add Manually → Scan Receipt |
| Claim Transaction | Cards → Transaction History → Select Item → Create Expense |
| Check Reimbursement | Expenses → Filter by "Paid" status |